While the Word on the Street Festival is not new to Vancouver, it is new to me as I am a recent transplant. Perhaps you noticed I was very excited about this. The good news is that the festival had a huge range of authors, book artists, comic artists and poets, all showing or reading their work.
The bad news is that several of the CBBAG members who were on the original roster were not able to make it. I was truly heartbroken that the Fine French bookbinding and the fasteners & enclosures demos were cancelled.
The remaining demos I attended were tunnel books, letterpress and coptic bookbinding.
Let us start with tunnel books, shall we?
Here are the samples that were waiting at the CBBAG table. I was surprised to see that this demo was geared to kids, but why not include them in a workshop? Yes I was the lone adult without a kid with me but I still enjoyed the process.
 |
| Design Property of Edward H. Hutchins. Samples property of Gina Page. Used with permission. |
Below is a photo of the guidebook, with lettered sections indicating how to overlap properly.
 |
| Design property of Edward H. Hutchins |
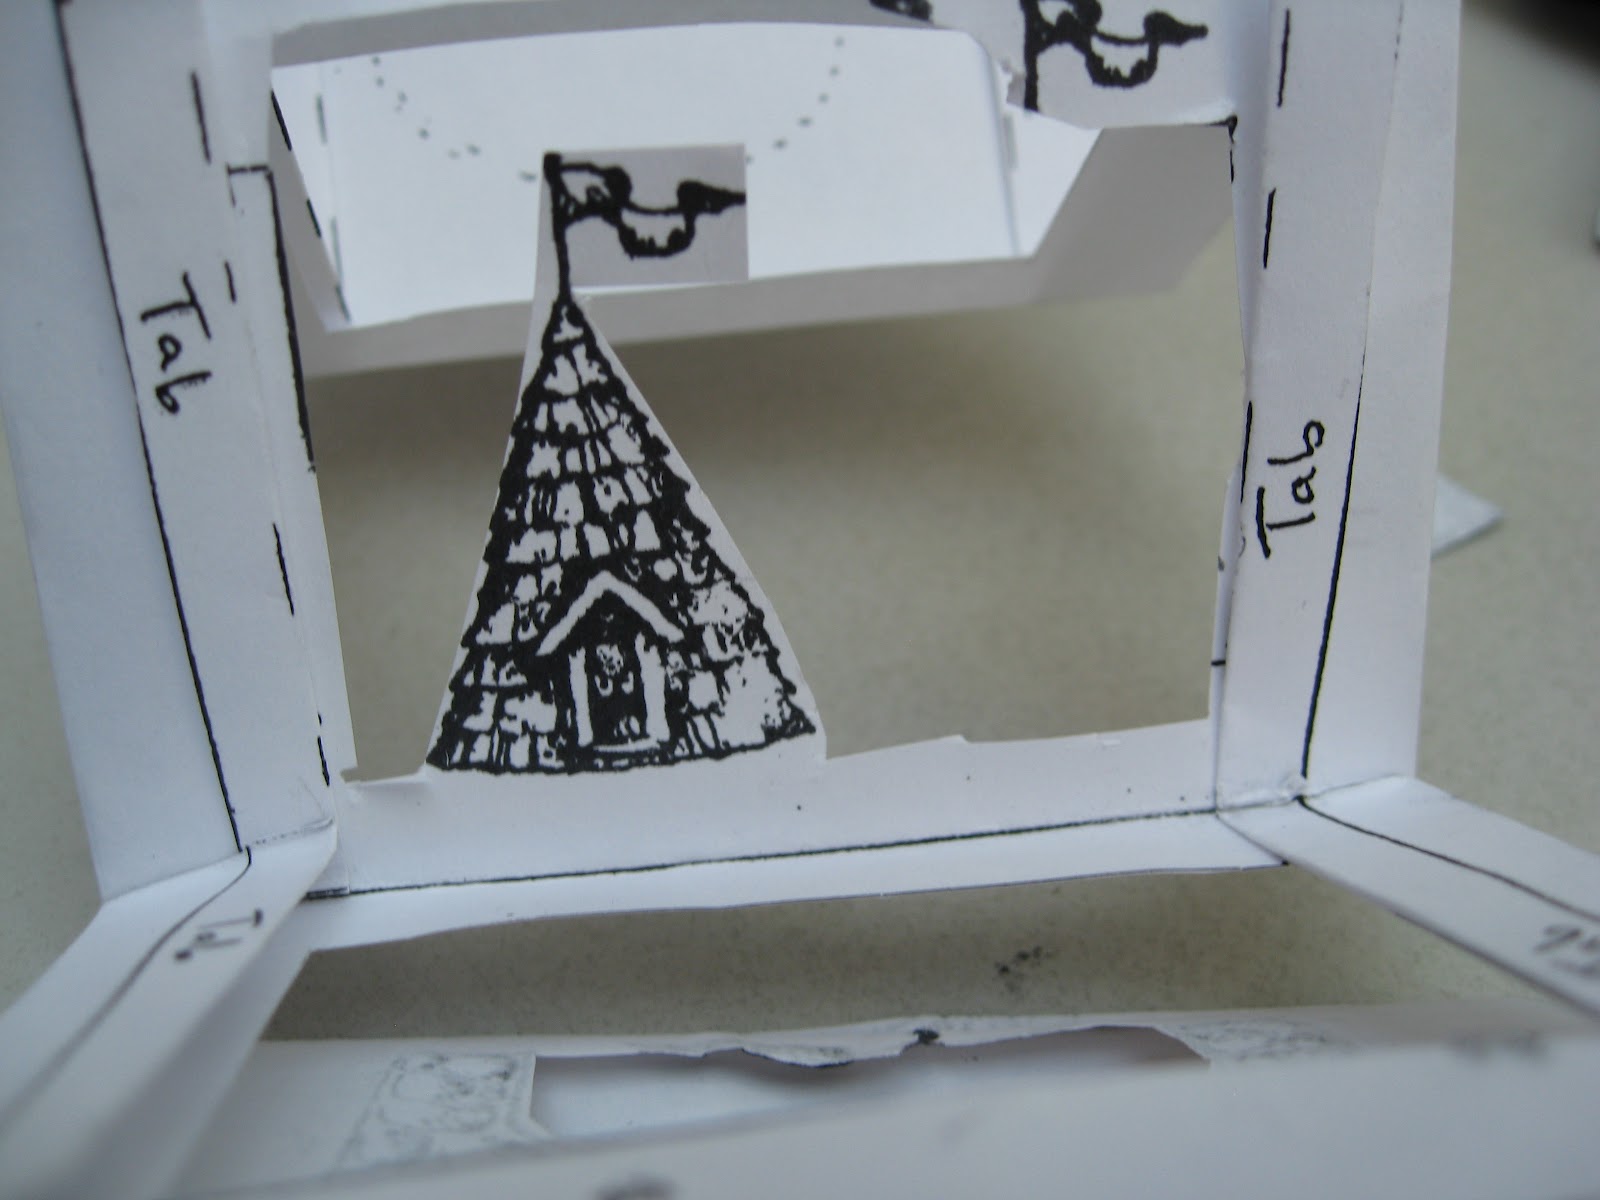
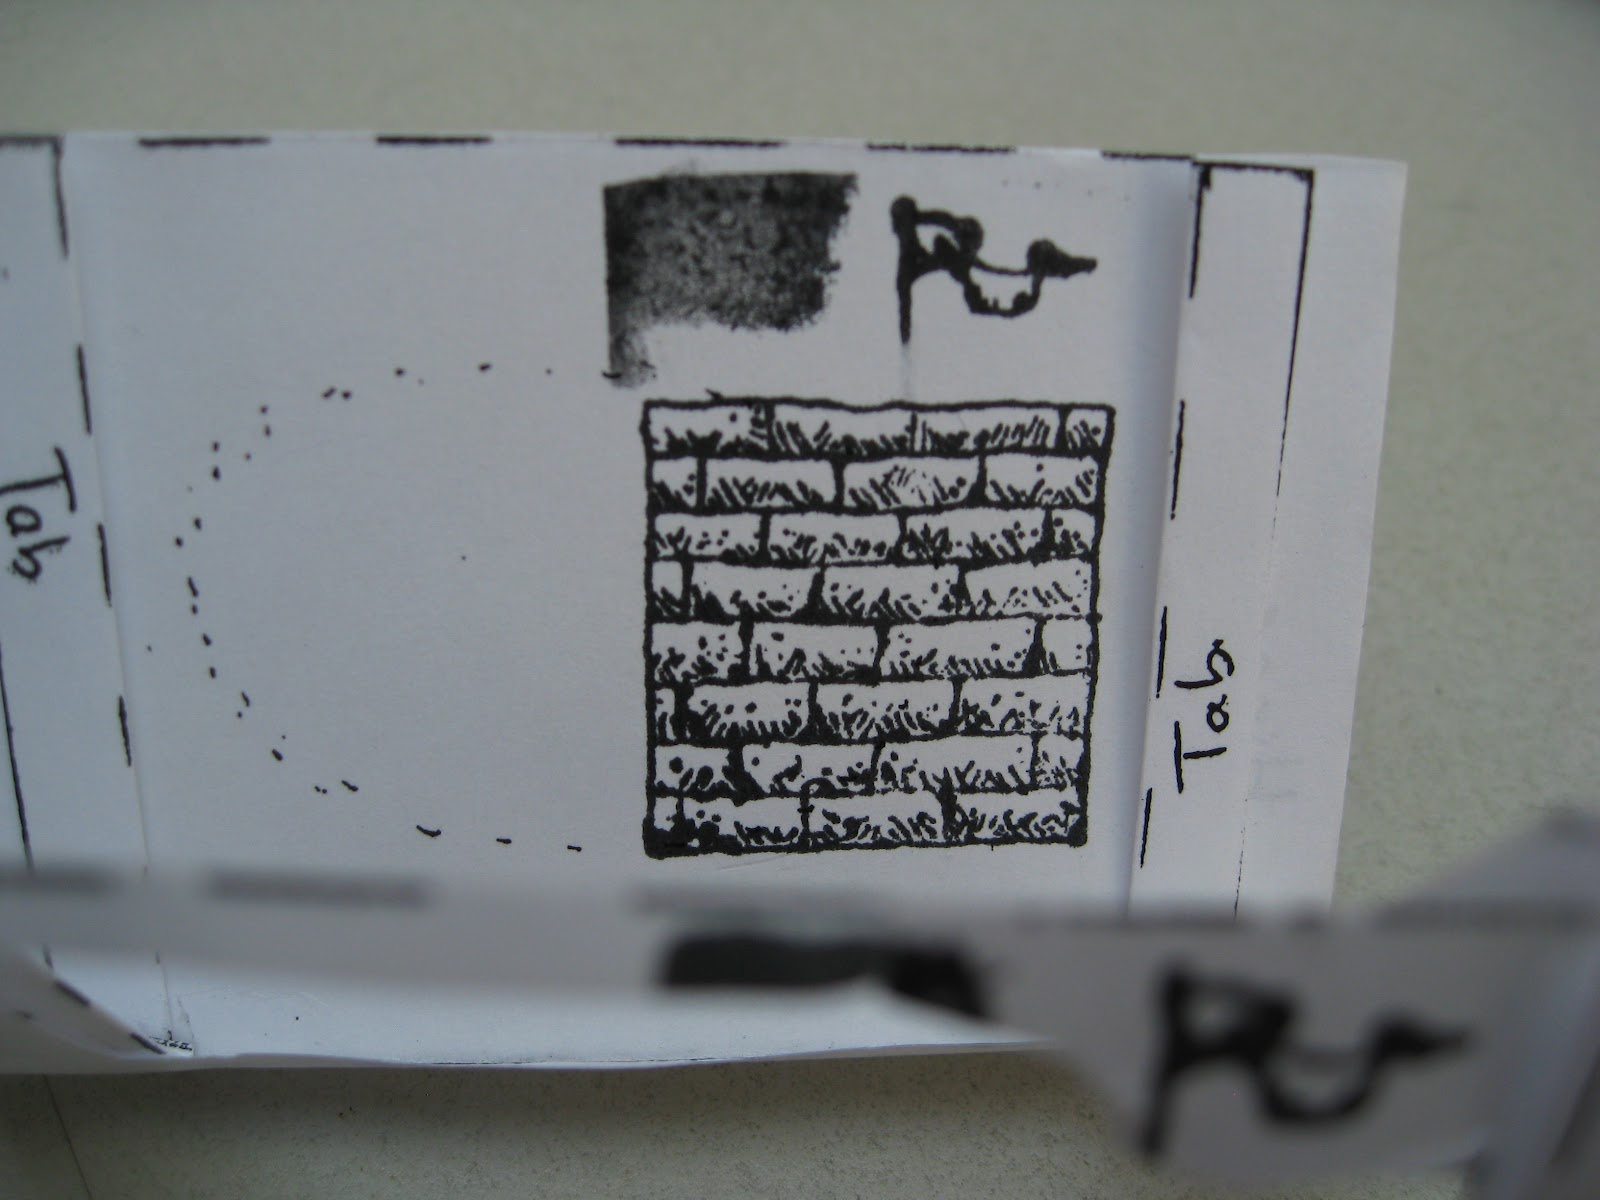
Also notice that along the edges are tabs that are labelled and folded back. These tabs will be attached in a later step.

We were provided with stamp pads and markers for creating the images.


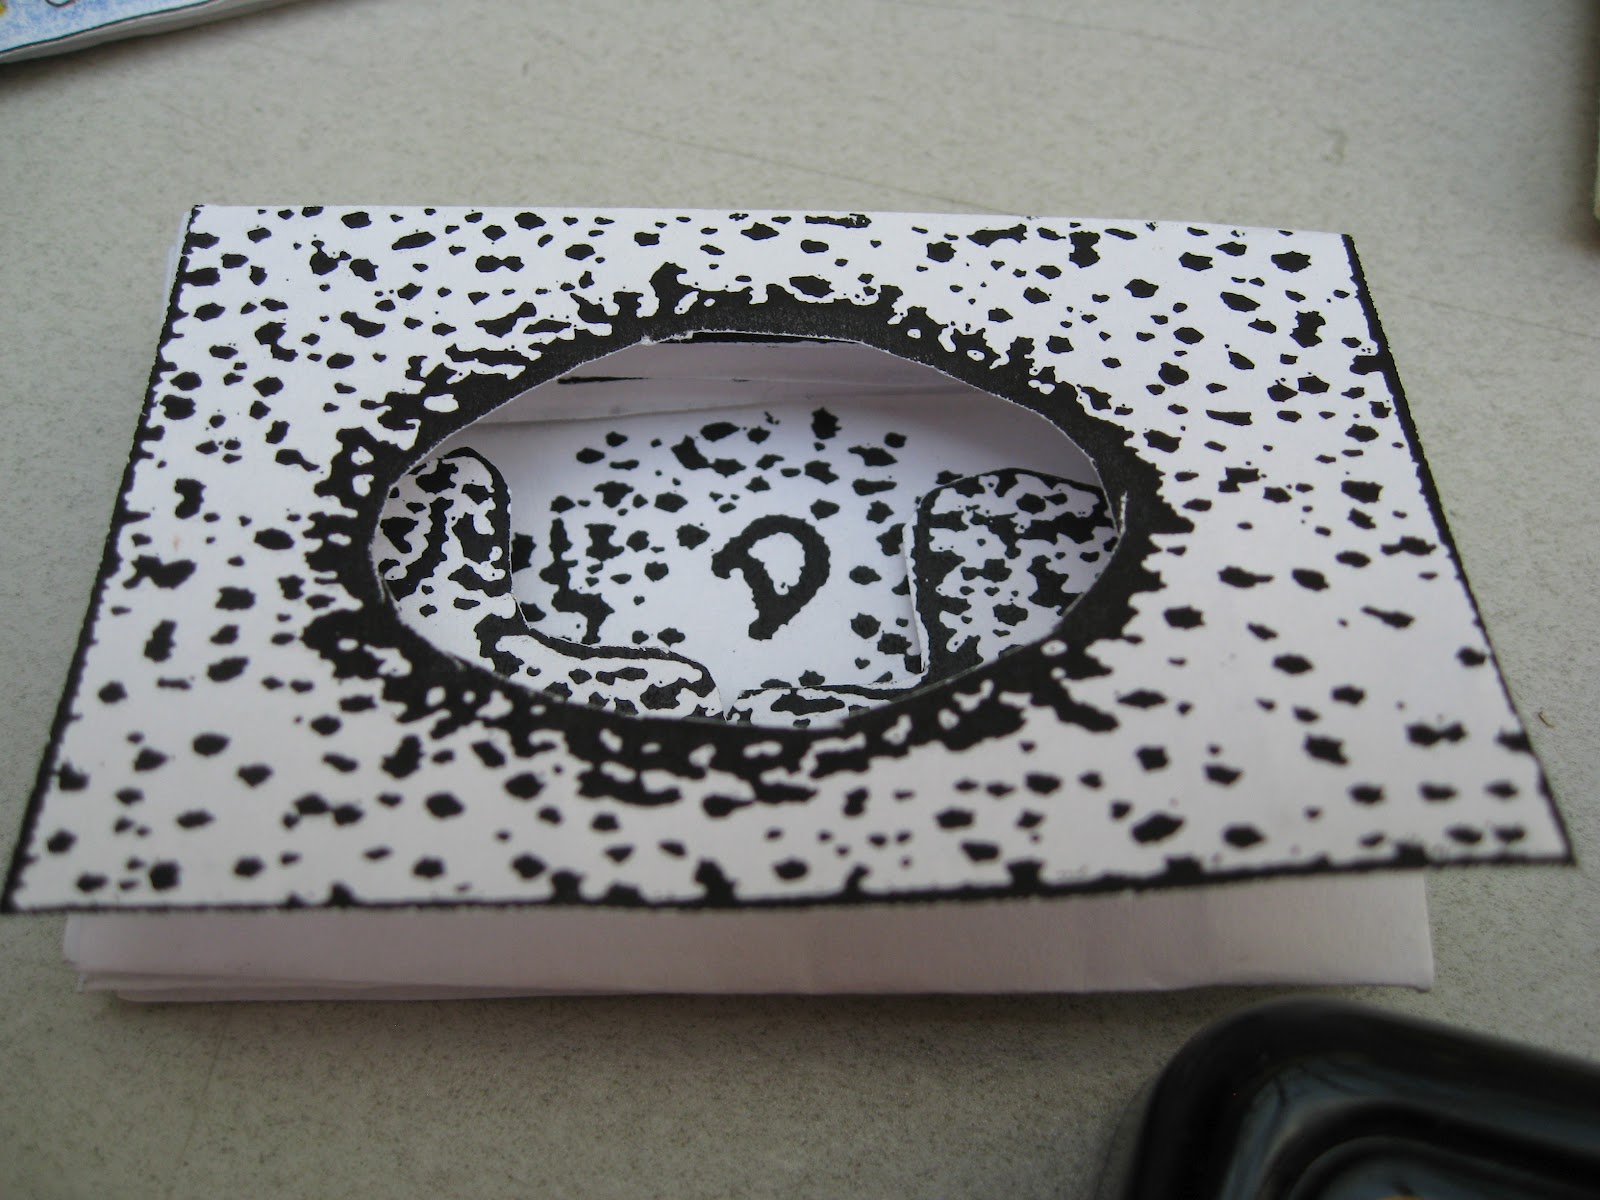
Now I placed my stamp in side the cutouts on the first and second pages, to stamp a design onto the third page.


 |
| Please remember I work with my hands and I am too broke for a manicure. No comments about my hangnails will be considered. |
Stamp on to the fifth page (as the fourth page is already cut out and will not have images applied)

Cut around the image(s) on the fifth page.

I thought this looked cluttered so I took out the image on the right as I finished cutting.
Peek through the first four pages to see how your images are lining up.

Now stamp one more image on the seventh page. This will be the final visible page in the book, with the eighth page being folded down to become the back cover.
You do NOT need to cut out the image you draw or stamp onto the seventh page.

Now we can start to assemble the book. Taking a glue stick, apply glue to the tab section on the third page.


Repeat with the tabs from the second page.


Now carefully fold the second and third pages together so that the tabs touch. Press firmly to set the join.
Be sure to take the time to make the edges line up, as this cannot be changed later when the glue is dry.

Now glue the back side of the seventh and eighth pages together. This will make the back cover.


Credit is due to the esteemed American bookbinder Edward H. Hutchins who created and owns the rights to this particular design template.

Want to make it yourself?
Please note that all photos were taken by me (Laura Carey) and I own the images of the book being created. However, I do NOT own this design. Again, that is the property of Edward H. Hutchins.
No comments:
Post a Comment